Recently my ages old laptop started acting funny. I am assuming it might die soon. Before getting a new laptop I needed to crate a VHD of my old laptop for any reference.
The native tool from Microsoft to create VHD is Disk2vhd. This will create virtual machine and disk that can be attached in Hyper-V running in a separate machine. Here is the link;
https://docs.microsoft.com/en-us/sysinternals/downloads/disk2vhd
Here is the installation instruction of this VHD inside Hyper-V.
First of all create a new generation 2 VM that we’ll use with our new VHDX we created using Disk2VHD. Don’t create a new vdhx but select to use an existing one and point it to the one we just created with Disk2VHD. Rename it if needed to something more suitable.
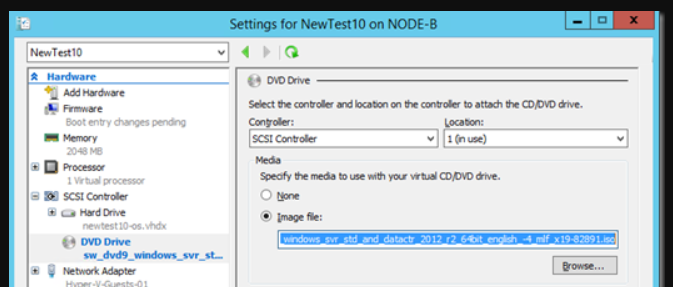
Don’t boot the VM but add a DVD and attach the Windows Server ISO of the version your vhdx contains to the DVD.
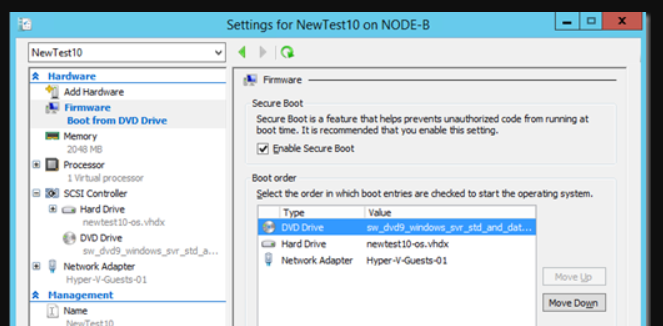
Move the DVD to the top of the boot order I firmware.
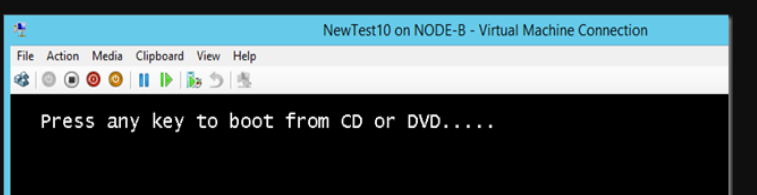
he VM will boot to the DVD when you hit a key.
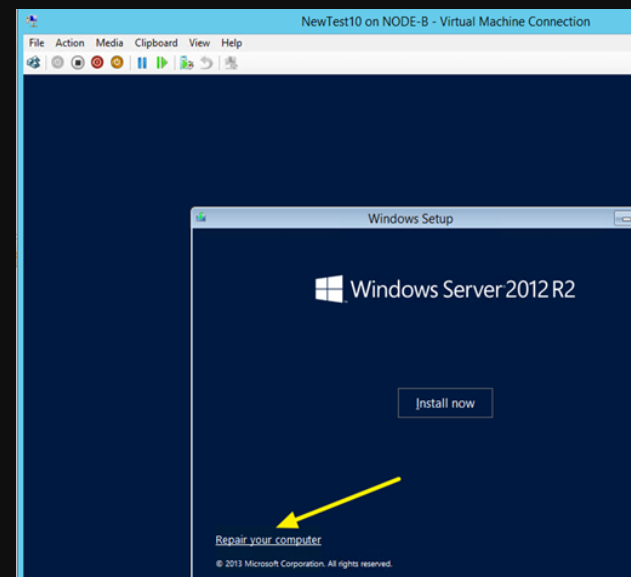
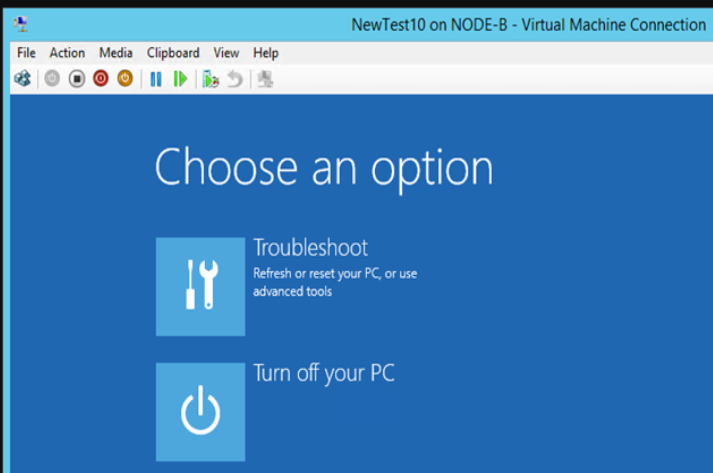
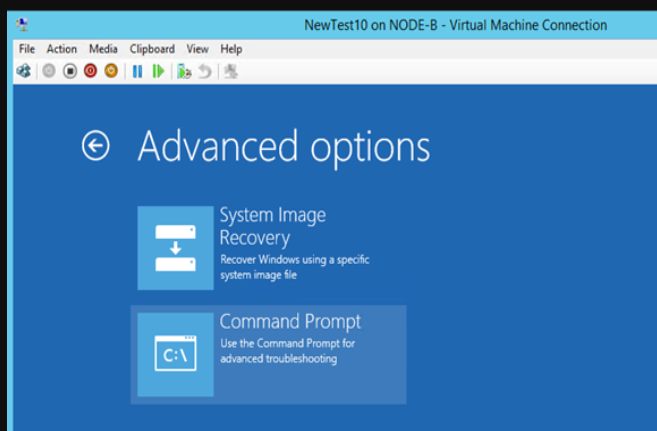
Select your language and keyboard layoout when asked and the don’t install or upgrade the OS but boot
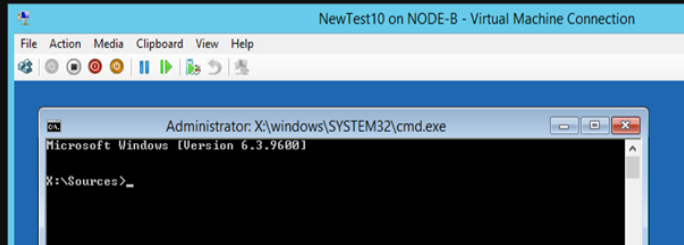
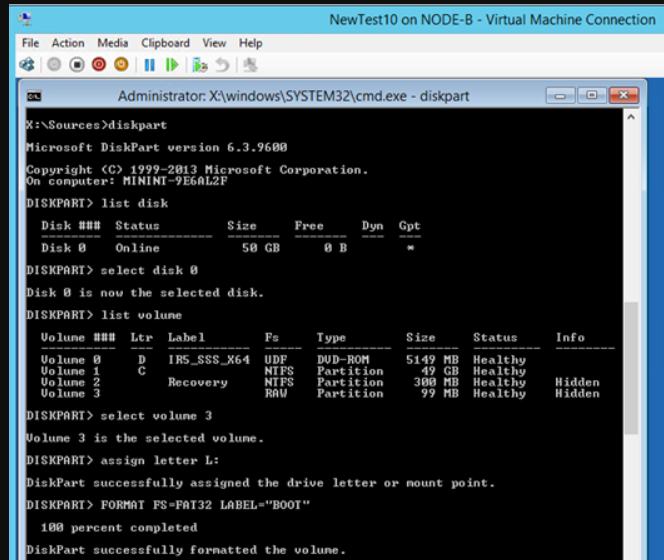
Type diskpart and list the disks. Select the disk we need (the OS disk, the only one here) and list the volumes. You can see that volume 3 off 99MB is RAW. That’s not supposed to be that way. So let’s fix this by creating boot loader directory structure, repair the boot record by creating the boot sector & copy the needed boot files into it.
Type:
select volume 3
assign drive letter L:
FORMAT FS=FAT32 LABEL=”BOOT”
That’s it we can now us that 99MB volume to make our disk bootable to windows again. Type Exit to leave diskpart.
So now we have a formatted boot partition we can create the need folder structure and fix the boot record and configure our UEFI bootloader
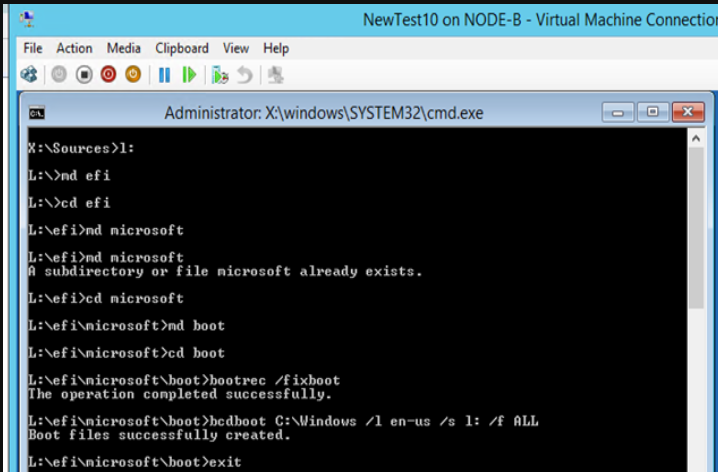
Switch to the L: volume
create efi\microsoft\boot folder structure for the bootloader as show below with the md command(make directory)
Type: bootrec /fixboot to create the bootrecord
Type: bcdboot C:\Windows /l en-us /s l: /f ALL
This creates the BCD store & copies the boot files from the windows system directory
Just click Continue to exit and continue to Windows Server 2019. Remember to eject DVD drive.
.. and voila, your new VM has now booted.
Read more here;
Here is the troubleshooting tips while using disk2vhd tool;
Another free tool is VMWare VCenter Converter. Here is the guide;